
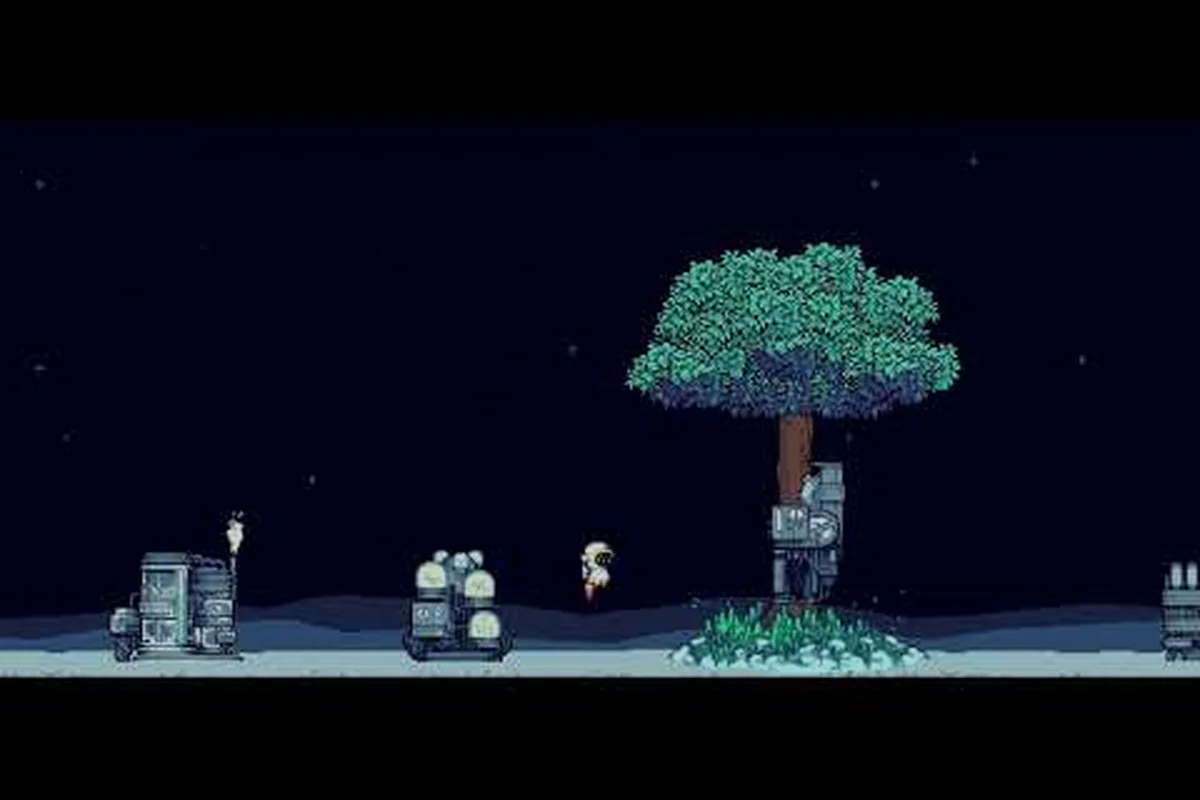
Trophies in Moon Garden sit on a steep curve. Some pop in your first hour, others demand tens of thousands of pollen and a fully unlocked seed pool before they even register. This moon garden achievements tier guide breaks every the r/incremental_games thread trophy into Easy, Medium, Hard, and Prestige bands so you can plan a route that lands the quick wins early and pushes the brutal grinds to the back of the queue. If you have ever watched a Pollen Tycoon progress bar crawl, the ranking guide ahead will save you hours of misallocated seed pulls.
Achievement Tier Bands and What They Actually Test
Every Moon Garden trophy rolls up to one of four underlying checks: how fast you can earn pollen, how wide your seed pool has grown, how deep your stardust upgrades have climbed, and how well you arrange your Garden Pods for synergy. The bands below are built from those four axes rather than trophy names, because two achievements that sound similar can live in completely different tiers once you factor in pod layout and seed-pull cost.
| Tier Band | Core Test | Typical Time-to-Unlock | Failure Cost |
|---|---|---|---|
| Easy (S) | Plant / pollinate basics, first harvest | 5–20 minutes | Near zero — natural play clears it |
| Medium (A) | Mid pollen totals, first satellite deploy | 1–3 hours | Wasted seed pulls if rushed |
| Hard (B) | Full seed pool, advanced synergies | 4–10 hours | Lost stardust on wrong upgrade path |
| Prestige (C) | Endgame pollen totals, maxed flowers | 15+ hours | Save file risk if you ignore the loop |
Each band answers a different question. Easy asks whether you can play. Medium asks whether you can plan. Hard asks whether you understand the flower rarity ranking and seed economy. Prestige asks whether you can sustain a long loop without burning stardust on dead-end upgrades. Players who treat the moon garden ranking guide as a single difficulty ladder tend to over-invest in Hard content before they have the pod layout to support it, which is why the tiered approach matters.
Easy Tier — Trophies That Clear Themselves
The Easy band is generous on purpose. New players need a few quick wins so the achievement tracker does not look empty for the first three hours, and the developer front-loads these checks into the natural onboarding loop.
Green Thumb and First Bloom
Green Thumb unlocks the first time you successfully plant a seed in a Garden Pod, and First Bloom fires when that flower produces its initial pollen tick. According to the Moon Garden Steam page, the planting loop is gated by nothing more than a single pachinko pull, which the game hands you for free during the tutorial. These are essentially unmissable trophies and serve as the green flag that your save file is wired up correctly.
| Trophy | Trigger | Source Mechanic | Pitfall |
|---|---|---|---|
| Green Thumb | Plant first seed | Free pachinko pull | None — fires on first action |
| First Bloom | First pollen tick | Passive pod timer | Removing the flower too early |
| Pollen Adept | 1,000 total pollen | Cumulative counter | Selling pods before the tick |
Tutorial Cleanup
The remaining tutorial trophies cover satellite deployment and the first stardust spend. They are still Easy, but they ask you to read a tooltip. If you want a deeper breakdown of how stardust interacts with the seed pool, the moon garden upgrade order ranking guide maps which permanent upgrades actually feed into these early checks versus which ones wait until the mid-game.
Medium Tier — Pollen Milestones and Seed Pool Expansion
Medium trophies are where the moon garden achievements tier list first bites. They feel close because the numbers are visible on the HUD, but they hide two compounding costs: the seed-pull price climbs with each new tier, and a poorly arranged pod cluster cannot push your pollen-per-second high enough to hit the milestone on schedule.
Pollen Adept and Pollen Tycoon
Pollen Adept (1,000 pollen) often fires before players notice it exists, but Pollen Tycoon (50,000 pollen) is the wall that defines the entire mid-game. Community testing on the beta branch suggests the fastest Pollen Tycoon routes stack two S-tier flowers in adjacent pods so their synergy multiplier carries the bulk of the production, then layer satellites on top. Without that stacking, the grind stretches from three hours to seven or eight.
| Trophy | Target | Estimated Time (Optimized) | Estimated Time (Casual) |
|---|---|---|---|
| Pollen Adept | 1,000 pollen | 8–12 min | 15–20 min |
| Pollen Collector | 10,000 pollen | 45–60 min | 90–120 min |
| Pollen Tycoon | 50,000 pollen | 2.5–3.5 hr | 6–9 hr |
Seed Diversity Trophies
The seed diversity checks (grow N unique species, unlock all tier-1 and tier-2 seeds) live in Medium because the gate is the pachinko machine cost curve, not the time invested. A casual player can sink an hour into seed pulls and still not see a specific flower if they are buying single pulls at the wrong price band. Buying ten-pull bundles is the standard efficiency play, and you can cross-reference which flowers fall into the moon garden flower rarity ranking bands using the moon garden tier list maker breakdown. The data there lines up with community-reported pull rates and helps you decide whether a missing seed is worth chasing or worth rerolling around.
Hard Tier — Full Seed Pool and Synergy Mastery
Hard trophies expect you to have already solved two prior layers: the seed economy and the moon garden upgrade order ranking for stardust. Without both, you are fishing for synergies that your pod layout cannot support, and the achievement counter barely moves.
Seed Completionist
Seed Completionist requires unlocking every flower in the pool, which means surviving the late-game seed tiers where each pull can cost a meaningful slice of your pollen bank. The strategic question is which seed you should be hunting versus which one you can substitute with a lower-rarity alternative. The moon garden ultimate flower tier rankings from community testing are useful here because they tell you which flowers are pull-priority (high pollen output AND strong neighbor synergy) versus which are filler.
| Seed Tier | Pull Cost Band | Synergy Potential | Completion Priority |
|---|---|---|---|
| Tier 1 | Very low | Low — standalone flowers | Pull every one |
| Tier 2 | Low–medium | Medium — pair bonuses | Pull for the duo bonuses |
| Tier 3 | Medium–high | High — triple synergies | Pull selectively, target S-tier |
| Tier 4 | Very high | Highest — full garden combos | Pull only S-tier and one synergy anchor |
Synergy Master
Synergy Master fires when your pod cluster produces the maximum possible neighbor bonus, which requires a specific arrangement of three or more flowers in adjacent pods. The arrangement changes as you unlock new seeds, so the practical workflow is to lock in your anchor flowers (your moon garden best flower for stardust picks) first, then fill the remaining pods with whatever synergizes rather than whatever has the highest standalone pollen output. The moon garden strongest flower tier list is a useful sanity check here, because if your anchor flower is not on the S-tier list, you are probably about to outgrow your layout within an hour.
Prestige Tier — Endgame Grinds and Completionist Paths
Prestige trophies are not harder because the numbers are bigger; they are harder because they require every prior tier to be solved simultaneously. A Pollen Tycoon Hard-mode target, a full seed pool, and a maxed stardust tree all have to coexist before the endgame checks fire.
Galactic Pollen Baron
Galactic Pollen Baron is the 250,000-pollen milestone, and it lives in Prestige because hitting it without a finished stardust tree means you are grinding with starter multipliers. Players who clear it fastest route roughly 60% of their stardust into the pollen-per-second permanent upgrades and the remaining 40% into seed-pull cost reduction so they can keep refreshing the pool for moon garden flower meta guide anchors.
| Permanent Upgrade | Pollen/sec Impact | Seed Economy Impact | Recommended Order |
|---|---|---|---|
| Pollen Multiplier I | High | None | First |
| Satellite Range I | Medium | None | Second |
| Seed Discount I | Low | High | Third |
| Pollen Multiplier II | High | None | Fourth |
| Satellite Range II | Medium | None | Fifth |
| Seed Discount II | Low | High | Sixth |
The order matters because Pollen Multiplier I immediately accelerates every other grind, while Seed Discount I is only valuable once you actually need more seeds. If you front-load the seed discounts, you will burn stardust on pulls you do not yet have the pod layout to exploit.
Completionist and Hidden Checks
Completionist is a meta-trophy that fires when every other trophy is unlocked, and it is the only check in the game where your moon garden achievements tier strategy has to be airtight. Hidden checks layer on top — community reports suggest at least one trophy is gated behind a specific pod arrangement rather than a pollen total, which is why the moon garden best achievement order walkthrough is worth bookmarking before you start a Prestige push. If you try to grind Pollen Baron without first mapping the hidden checks, you can finish the pollen target and still have two or three mystery trophies unaccounted for, which breaks the Completionist trigger.
Practical Achievement Route and Resource Budget
The route below assumes a single save file, roughly 12–18 hours of active play, and a focus on hitting Prestige without burning the loop. Use it as a checklist, not a script — your pod layout will dictate minor reroutes.
| Phase | Hours | Priority Trophy | Key Action |
|---|---|---|---|
| Phase 1 | 0–1 | Green Thumb, First Bloom, Pollen Adept | Free pachinko pull, plant, wait |
| Phase 2 | 1–3 | Pollen Collector, first satellites | Stack two S-tier flowers in adjacent pods |
| Phase 3 | 3–6 | Pollen Tycoon, Seed Diversity I | Ten-pull bundles, target tier-2 anchors |
| Phase 4 | 6–10 | Synergy Master, Seed Completionist | Lock anchor flowers, fill around them |
| Phase 5 | 10–14 | Galactic Pollen Baron | Route stardust into pollen multipliers |
| Phase 6 | 14–18 | Completionist, hidden checks | Verify hidden triggers, clean up stragglers |
The most common mistake players make on this route is starting Phase 4 before they have stardust budgeted for it. If you reach Pollen Tycoon and your seed pool is still missing tier-3 flowers, you have under-invested in the moon garden upgrade order ranking and the seed-discount branch needs to be promoted above pollen multipliers for the next session. The route is built so that each phase feeds the next, and breaking the chain usually costs more time than the reroute.
Frequently Asked Questions
How long does it take to clear the moon garden achievements tier list?
Most players clear the Easy and Medium bands within 3–5 hours of focused play. Hard takes another 4–6 hours because it depends on seed pool completion. The Prestige tier, including Completionist, runs 8–12 additional hours depending on your stardust routing, so a full clear lands around 15–22 hours total according to community reports.
Which moon garden achievements tier trophy is the hardest single unlock?
Galactic Pollen Baron is the hardest single target because it requires both a maxed pollen multiplier and a stabilized pod layout. Completionist is technically harder overall, but it is a meta-trophy, so it does not require a unique grind beyond the other Prestige checks.
Do I need every flower for the moon garden flower meta guide route?
Yes, the meta route assumes full seed pool access because tier-3 and tier-4 flowers carry the strongest neighbor synergies. Skipping a tier means your pod cluster caps at a lower bonus ceiling, which extends the Pollen Tycoon and Pollen Baron grinds by several hours.
What is the best flower for stardust efficiency in Moon Garden?
Community data points to the tier-3 S-tier anchor flower as the best stardust efficiency pick, because it produces high pollen per second AND scales well with stardust multipliers. A full ranking lives in the moon garden strongest flower tier list, which lines up with the moon garden upgrade order ranking priorities.
Can I plan the moon garden ranking guide route without a wiki?
Yes, the in-game tooltips surface pollen-per-second, unlock tier, and neighbor bonus for every flower, which is enough to plan the route. The ranking guide becomes useful when you want to skip the experimentation phase and start with a known-good pod layout instead of rebuilding yours from scratch.