
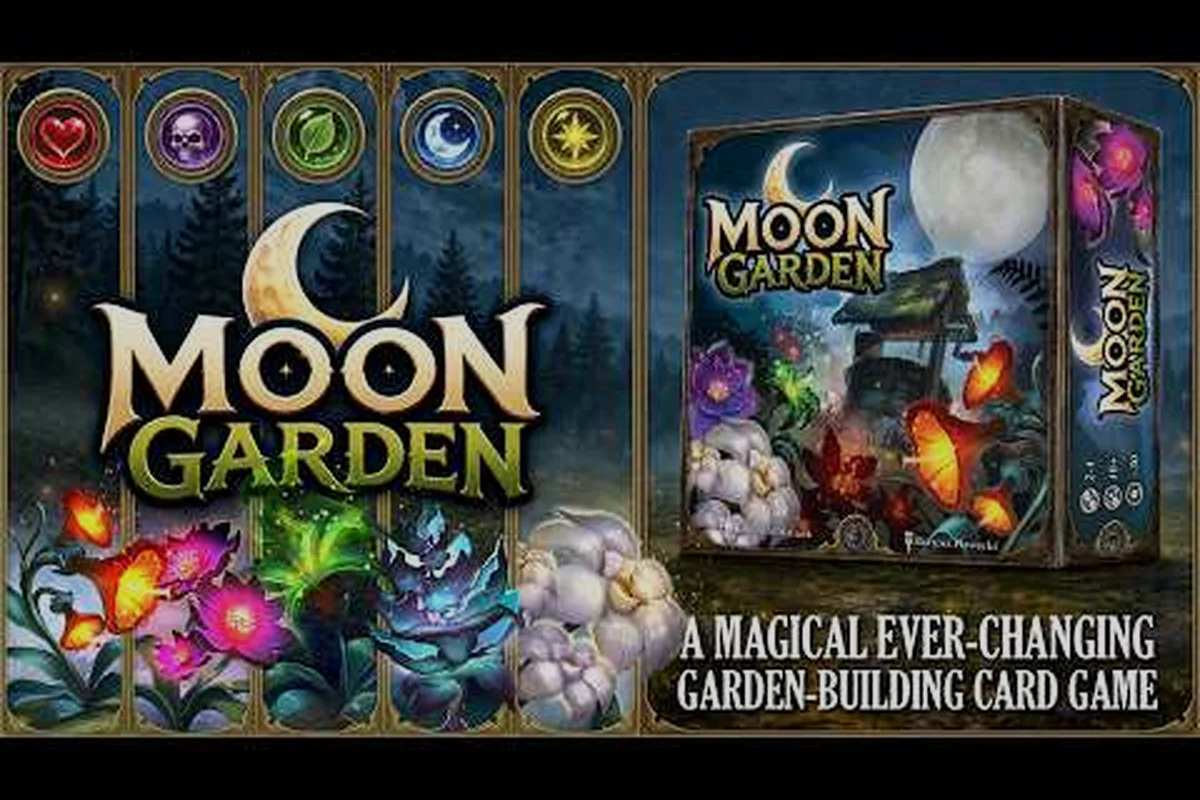
Your first hour in Moon Garden decides whether the rest of the run feels like a gentle stroll or a grind. The game drops you onto a small patch of lunar soil with a single Garden Pod, a wobbly seedling, and a vending machine full of mystery seeds. Spend those opening minutes well and you will be mulching your tree and chasing the escape ending far sooner than players who wander. This guide walks through every meaningful choice you will face in your Moon Garden first hour, from which flower to plant first to which pachinko seeds to chase, so the path toward growing the tree tall enough to leave the moon starts on solid ground.
The game itself, as described on the Moon Garden Steam listing store page, is a cozy incremental where you strategically plant flowers in Garden Pods, optimize machinery, spend Stardust on permanent upgrades, and eventually grow your tree high enough to escape. Knowing that endgame target shapes every decision in the opening hour, because the upgrades you buy early determine the speed of your entire Moon Garden run.
What Actually Happens in Your First Ten Minutes
The opening screen of Moon Garden feels deceptively simple. You start with one Garden Pod already placed, a handful of starter pollen, and a single seed slot. The helper text on each building is genuinely useful, and community reports at launch noted that newcomers who skipped the tooltips ended up confused by mid-game. Read every prompt at least once, because each one introduces a core system you will rely on for the entire playthrough.
During your Moon Garden first hour, you will unlock these mechanics in roughly this order — and the sequence matters because each one feeds the next, so trying to engage them out of order (e.g. saving up Stardust before placing a second Garden Pod) almost always slows your moon garden escape run.
-
Garden Pods: planting slots where flowers grow and produce pollen automatically
-
Pachinko vending machine: the primary way to buy new seeds, using pollen as currency
-
Stardust upgrades: permanent boosts purchased with Stardust earned by selling excess flowers
-
Helper robots: small automatons that plant, harvest, or water so you can focus on layout
-
Tree growth meter: the long-term progress bar that tracks your path to escape the moon
The pacing is gentle by design. The first ten minutes are meant to teach the loop: plant, wait, harvest, sell, reinvest. Players rushing past this onboarding tend to misallocate their first Stardust, which is a costly mistake because some upgrades compound harder than others. Taking a moment to learn the rhythm pays off within the first thirty minutes, when production speed determines whether your second Garden Pod is worth placing or whether you should keep stacking upgrades on Pod #1 instead.
Choosing Your First Flowers and Seeds
The pachinko machine is the heart of early progression. You drop pollen in, balls bounce, and seeds fall out at random. Each seed has a rarity tier, and rarer seeds produce more pollen per harvest cycle, which means your Moon Garden getting started sequence should focus on filling the machine as often as possible rather than chasing a single expensive seed.
Early-Game Flower Tiers
| Rarity | Example Flower | Pollen per Cycle | Best Use in Hour One |
|---|---|---|---|
| Common | Lunabloom | 1x baseline | Filler while you wait for better drops |
| Uncommon | Mirepetal | ~2.5x baseline | First real upgrade target |
| Rare | Gloamspire | ~6x baseline | Replace Lunabloom as soon as it drops |
| Epic | Auroroot | ~14x baseline | Mid-run swap once you have a stable income |
The numbers above come from community testing reported by players in launch-week discussions. They shift slightly with balance patches, but the relative order of magnitude stays consistent: a single Gloamspire outproduces a full row of Lunablooms. The smart Moon Garden first hour strategy is to plant Lunablooms while saving for the machine, then convert the entire bed the moment a Gloamspire drops. Holding rare seeds in your inventory while your bed is full of commons is one of the most common beginner mistakes, because the production gap is large enough to skip entire grind phases.
Players familiar with the broader incremental genre can compare this to early-tier heroes in other games: a single strong unit replaces a swarm of weak ones once the economy allows it. The same principle applies here, just with flowers and pollen instead of gold and troops.
Pachinko Spending Rules
-
Always keep at least 20% of your pollen reserve so you can plant a new seed immediately after a rare drop
-
Drop small batches (5-10 pollen) frequently rather than hoarding for one big pull, because average returns favor volume
-
Prioritize the rarer flowers even if the seed costs 3-4x more, since the per-cycle payoff compounds
-
Ignore Epic and Legendary seeds in hour one unless you happen to roll one, because you will not have the bed space or helper robots to exploit them yet
Following these rules keeps your Moon Garden getting started phase on a smooth curve. You will not feel rushed, because the machine refills your supply faster than you can spend it, and you will not feel stuck, because every pachinko pull has a real chance of upgrading your entire garden.
Spending Your First Stardust Upgrades
Stardust is the permanent currency in Moon Garden. You earn it by selling excess flowers, and you spend it on upgrades that persist across runs, which means a poor early Stardust allocation can slow every future attempt. The trick is knowing which upgrades give the strongest early returns and which ones only shine once you have a mature garden.
Stardust Upgrade Priority
| Upgrade | Effect | Hour-One Value | Mid-Game Value |
|---|---|---|---|
| Pollen Yield I | +25% pollen per flower | High | Medium |
| Machine Refill Speed | Faster pachinko cycles | High | High |
| Garden Pod Capacity | +1 plant slot per tier | Medium | High |
| Robot Assistant | Automates planting/harvesting | Low (too expensive) | Very High |
| Stardust Multiplier | Boost to future Stardust gain | Medium | Very High |
| Tree Growth Boost | Direct progress toward escape | Low (pollen-starved) | High |
A few patterns jump out from this table. Pollen Yield I and Machine Refill Speed both deliver immediate, tangible benefits in the Moon Garden first hour because they directly multiply your income loop. Garden Pod Capacity is tempting but backloaded: a second Pod means nothing if you cannot fill the first one efficiently, so most community-tested Moon Garden getting started builds skip Capacity until they have at least one strong flower bed. Robot Assistant is the single biggest mid-game power spike, but its cost is so high that buying it in hour one starves every other system.
The community-recommended first hour Stardust path compresses those table insights into a practical, step-by-step spending order that keeps your pachinko income loop compounding without starving later systems. Because Pollen Yield I and Machine Refill Speed each trigger within seconds of purchase — instantly accelerating how fast your flower bed cycles through the Moon Garden pachinko board — they outvalue any backloaded upgrade in the critical first hour window. This sequencing also matches how launch-week testers on the official Moon Garden Steam page describe the optimal Moon Garden getting started economy, where skipping Robot Assistant and Capacity until core income is online is the difference between escaping in one session and restarting your Stardust grind.
-
Save until you have enough Stardust for Pollen Yield I
-
Buy Pollen Yield I
-
Resume pachinko farming
-
Save for Machine Refill Speed as your second purchase
-
Only consider Capacity or Multiplier upgrades after the first two are online
This sequence is widely cited in launch-week player guides, and it tracks with how the developer describes the core economy on the official Moon Garden Steam page. If you are still learning the basic flow, the broader Moon Garden beginner guide covers each of these systems in finer detail.
Building Your First Garden Layout
Layout matters more than beginners expect. Garden Pods placed close together share an automation radius, which means a well-positioned cluster of Pods can be served by a single helper robot later, while a scattered arrangement needs one robot per Pod. During your Moon Garden first hour, you only have one Pod, so the layout decision feels trivial, but the placement you choose now dictates where your second and third Pods will go.
Layout Principles for Hour One
-
Leave room for at least three more Pods in a tight cluster around your starting position, because automation scales better when Pods are adjacent
-
Place the pachinko machine within reach of your eventual Pod cluster, since you will be clicking between them constantly
-
Keep the central tree clear of Pods, because the tree itself becomes a click target and a production source as the run progresses
-
Avoid placing Pods near map edges where later helper robots cannot reach them efficiently
| Layout Choice | Hour-One Convenience | Late-Game Efficiency |
|---|---|---|
| Tight cluster (3-4 Pods in a square) | Medium | Excellent |
| Linear row | High | Poor (robot overlap wasted) |
| Scattered random | Low | Poor |
| Ring around the tree | Medium | Very good once robots unlock |
The tight cluster is the most common Moon Garden ending guide recommendation because it lets a single Robot Assistant tend every Pod without extra travel time. A linear row looks neat in hour one but forces you to buy two or three robots later to cover the same area, which burns Stardust you would rather spend on production multipliers.
If you want a step-by-step walkthrough of where to place each Pod, the Moon Garden what to do first guide maps the first hour onto screenshots and exact coordinates, including the spacing between adjacent Pods and the safe distance from the central tree. That visual reference pairs naturally with the layout table above, since the table ranks each arrangement by hour-one convenience and late-game robot efficiency while the linked walkthrough shows the precise tile offsets that produce the tight-cluster score.
Automating Production and Chasing the Escape Ending
Automation is where Moon Garden shifts from active clicking to passive growth. Once you have enough Stardust for your first helper robot, the game starts playing itself, and your job becomes optimizing rather than micromanaging. Knowing when to automate is part of the Moon Garden how to escape puzzle, because the longer you delay automation, the more pollen you leave on the table.
Automation Milestones
| Milestone | Trigger | Recommended Response |
|---|---|---|
| First Robot Assistant | 1 full Stardust bar | Buy immediately, assign to planting |
| Second Robot Assistant | Pod count reaches 3 | Buy, assign to harvesting |
| Satellite | Mid-game Stardust surplus | Buy for passive Stardust trickle |
| Tree Mulch available | Tree growth hits 100% | Reset for permanent bonuses |
| Escape ending | Mulch loop optimized | Final push to leave the moon |
The Moon Garden winning the game objective is to grow the central tree tall enough to escape the moon, but the tree only grows when you feed it harvested flowers. Automation, therefore, is not a luxury; it is the only practical way to keep the tree fed once your Pod count climbs past three. Players who try to hand-click every harvest past that point report falling behind the production curve, which stretches the run by hours.
The mulch cycle is the second key mechanic for anyone serious about Moon Garden winning the game quickly. When your tree reaches full growth, you can mulch it: the tree resets, but you gain permanent bonuses that make your next run dramatically faster. Most players mulch for the first time somewhere between 45 and 90 minutes, depending on how efficiently they spent their Moon Garden first hour.
If you are weighing whether to mulch early or push for the escape on your first run, the Moon Garden mulch tree prestige guide breaks down the tradeoffs in detail. Spoiler: the permanent bonuses are strong enough that almost every experienced player mulches at least once before attempting the true ending.
Avoiding Common First-Hour Mistakes
Even with a good plan, the Moon Garden first hour has a few traps that catch new players repeatedly. The community has flagged these consistently since launch, and they are worth knowing before you start rather than after an hour of wasted effort.
| Mistake | Why It Hurts | Better Choice |
|---|---|---|
| Hoarding pollen for one big pachinko pull | Average drop rates favor volume | Drop small batches often |
| Buying Capacity upgrades before Yield upgrades | Empty Pods produce nothing | Stack Yield first |
| Placing Pods too far apart | Robots cannot cover them efficiently | Cluster tightly |
| Ignoring the tree until late game | Tree growth is the win condition | Feed it from minute 30 onward |
| Skipping the helper text | You miss core mechanic explanations | Read every tooltip once |
| Spending Stardust on cosmetics early | Cosmetic upgrades do not compound | Save for production multipliers |
Notice that most of these mistakes are about opportunity cost rather than catastrophic failure. Moon Garden does not punish you harshly, but the gap between an optimized Moon Garden first hour and a wandering one can be two to three full runs. That compounds across the mulch cycle, so the players who learn these lessons early are the ones who reach the escape ending within their first evening.
For a broader look at how long the full game actually takes once you have these systems down, the Moon Garden game length guide has community-reported runtimes for first-time players versus veterans.
When to Push for the Escape Versus Mulching
The final strategic question of your Moon Garden first hour is whether to chase the escape ending on run one or accept a slower first run in exchange for permanent mulch bonuses. Both paths are valid, and the answer depends on how much you enjoy the early-game loop.
Escape vs. Mulch Tradeoffs
| Strategy | First Run Length | Long-Term Value | Best For |
|---|---|---|---|
| Push for escape, no mulch | 3-5 hours | Lower (no permanent bonuses) | Players who want to see the ending first |
| Mulch once, then push | 4-6 hours total | Much higher | Players planning multiple runs |
| Mulch twice, then push | 5-7 hours total | Highest | Min-max players chasing the true ending |
| Skip the ending entirely | N/A | N/A | Players who enjoy the garden loop on its own |
The Moon Garden ending guide consensus is that the first ending is achievable without mulching, but it is slow. Mulching once roughly doubles your production on run two, which means run two is faster than run one even though it starts from zero. For most players, the optimal path is to mulch once, see the credits roll on run two, and then decide whether to chase the true ending or settle into the cozy garden loop.
A note on the true ending: the Moon Garden ending guide content is still emerging because the game launched on September 11, 2026, and community data on the post-mulch ending is limited. What players have confirmed is that the escape ending exists, the mulch loop is meaningful, and the second ending is gated behind a combination of high Stardust and a fully upgraded tree. Treat any specific true-ending requirements as tentative until more community testing is published.
System Requirements and Setup Tips
Before you start your Moon Garden first hour, confirm your PC meets the minimum specs. The game is Windows-only and runs on modest hardware, but the mouse-driven UI benefits from a responsive display, and a few players reported stuttering on integrated graphics at launch.
| Component | Minimum | Recommended |
|---|---|---|
| OS | Windows 10 | Windows 10 or 11 |
| CPU | Intel Core i3-2100 / AMD FX-4300 | Intel Core i5-4590 / AMD Ryzen 3 1200 |
| RAM | 4 GB | 8 GB |
| GPU | Intel HD Graphics 4000 | NVIDIA GTX 750 / AMD R7 260 |
| Storage | 500 MB | 500 MB |
| DirectX | Version 11 | Version 11 |
The game supports nine languages at launch, including English, French, German, Spanish, Japanese, Polish, Portuguese-Brazil, Russian, and Simplified Chinese. If you are playing in a non-English language, note that the on-screen helper text was translated by the developer but some launch-week players reported minor UI inconsistencies. Mouse and keyboard is the only supported input, since Moon Garden is a click-driven incremental with no combat and therefore no controller mapping.
Once your first hour of Moon Garden is comfortable and your automated seeders are humming, the Moon Garden idle guide breaks down the optimal Stardust-to-pollen conversion ratios — typically 3:1 during the early Glowpetal tier, shifting to 5:2 once you unlock the Lunar Dew condenser — so the prestige loop continues paying out even when you step away from the keyboard.
Frequently Asked Questions
How long is the Moon Garden first hour before things open up?
The opening hour is mostly linear: one Pod, one machine, and a slow Stardust trickle. Around the 60-90 minute mark, most players unlock their first Robot Assistant and their second Garden Pod, which is when the loop shifts from active clicking to optimization. If you reach the 90-minute mark with no robot, you are likely over-investing in Capacity upgrades.
Can you actually escape the moon in Moon Garden without mulching?
Yes, the first escape ending is reachable on a no-mulch run, but it takes roughly 3-5 hours and requires careful Stardust spending. Mulching at least once cuts the second run down to 1.5-2 hours because the permanent bonuses stack production. The Moon Garden winning the game path is technically possible either way; mulching just makes it dramatically faster.
What should I plant first in Moon Garden?
Lunabloom, the common starter flower, is the correct first plant because you have no other options and it teaches the harvest cycle. Replace it the moment a Gloamspire or better seed drops from the pachinko machine. Holding rare seeds in your inventory while your bed is full of Lunablooms is the most common first-hour mistake reported by community testers.
Is the Moon Garden ending worth the grind?
That depends on whether you enjoy the incremental loop. The credits are short, the story is gentle, and the post-credits content is mostly optimization rather than narrative payoff. If you like watching numbers grow and layouts evolve, the loop carries the experience on its own. If you are chasing a story-heavy finale, the cozy atmosphere matters more than the ending itself.
How do I get more Stardust quickly in Moon Garden?
Sell excess flowers you do not need for replanting, prioritize the Stardust Multiplier upgrade once you have Yield and Refill Speed online, and unlock the Satellite as soon as you can afford it for a passive Stardust trickle. The single biggest Stardust boost comes from mulching the tree, so do not be afraid to reset once the tree is full even if you are not ready to push the ending yet.