
How the Flower Roster Unlocks Across Systems
Every flower you can plant in Moon Garden sits behind a layered progression system, so the first question most newcomers ask is how to unlock flowers beyond the three starter seeds the pachinko machine spits out. According to the Moon Garden official store page, the game describes its core loop as planting flowers inside Garden Pods, spending pollen on rare pachinko seeds, and mulching the central tree to grow it tall enough to escape the moon. The flower roster is the heart of that loop, and expanding it is what turns a sleepy first pod into a fully automated Stardust engine. In practice, learning how to unlock flowers in Moon Garden means juggling four systems at once: pod capacity, pachinko seed tiers, the Research Lab's point tree, and the permanent upgrades you bank with Stardust between runs.
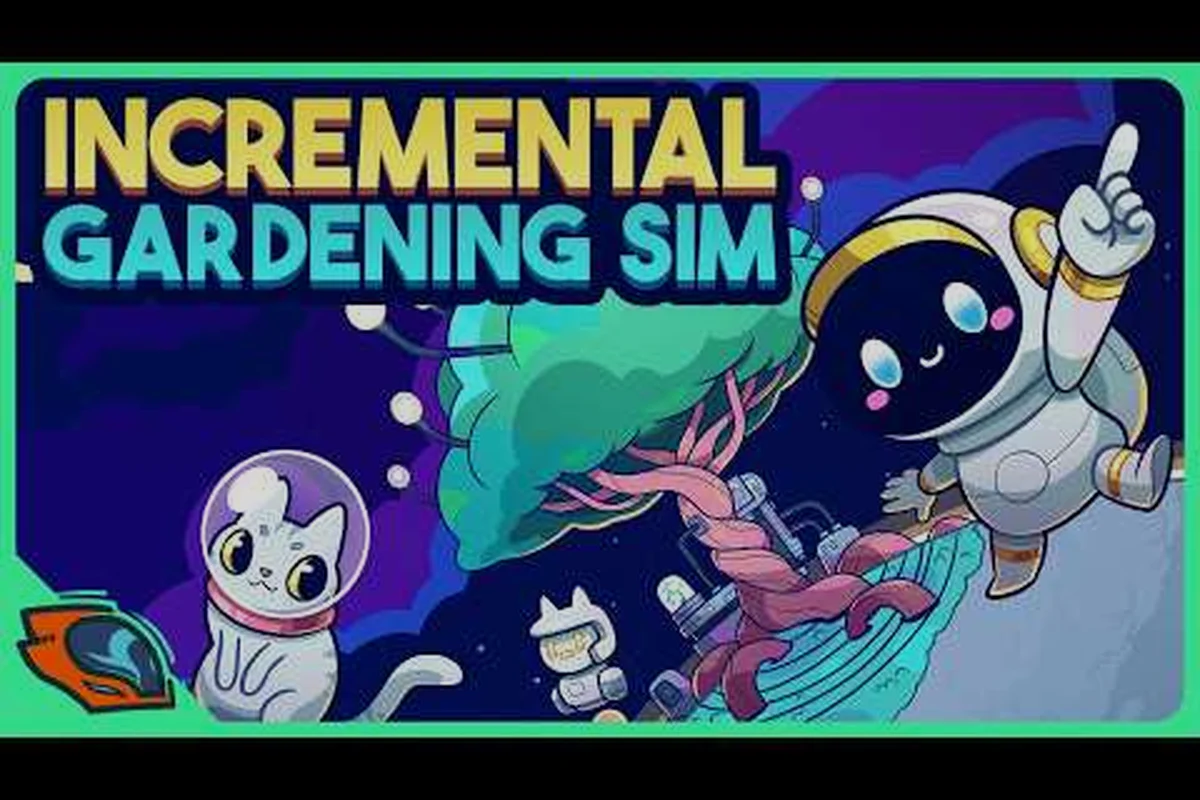
Most players stall on the second tier because they treat the pachinko machine as pure luck. The machine is random, but the pool it draws from is gated by your current pod count and research progress, which is why a focused plan beats coin-flipping every time. The Moon Garden official announcement trailer shows the basic pod-planting rhythm in under a minute, and once you internalize that visual loop, the rest of the unlock chain starts to click.
| Unlock Layer | What It Gates | Why It Matters |
|---|---|---|
| Starter Pod | 3 common flowers | Sets the baseline pollen economy |
| Pod Expansion | New planting slots | Raises parallel output per tick |
| Pachinko Tiers | Rarer seed pool entries | Unlocks higher-multiplier flowers |
| Research Lab | Permanent crafting recipes | Removes the worst RNG seeds from the pool |
| Stardust Tree | Cross-run upgrades | Compounds future pod and lab gains |
How the Research Points System Drives Flower Unlocks
The Research Lab is the single biggest lever for moon garden how to unlock flowers, and most players underestimate it because the research points trickle in slowly at the start. Research points are earned by completing planting milestones inside your pods, by finishing discovery sets, and by spending surplus pollen on the lab bench rather than hoarding it. Each completed research node either adds a new crafting recipe or removes a low-tier seed from the pachinko pool, which directly raises the average quality of every roll you make.
Research Point Income by Source
Pulled from community-aggregated launch-week player journals, the reliable research-point streams for a new Moon Garden run are pod planting milestones (10 seeds), new flower discoveries, and lab bench pollen spends of 1k, while the bonus stream is the first mulch cycle, which fires a one-time 5-point payout that most newcomers miss because the mulch UI does not flag it as a research source.
| Source | Research Points per Action | Frequency | Notes |
|---|---|---|---|
| Pod planting milestone (10 seeds) | 1 point | Every 10 seeds planted | The most reliable trickle early |
| New flower discovery | 2 points | One-time per species | Encourages breadth over depth |
| Lab bench pollen spend (1k) | 1 point | Repeatable | Capped at 5 per in-game day |
| First mulch bonus | 5 points | Once per run | The cheapest node-burst in the game |
A practical moon garden research points guide always front-loads the first mulch bonus, because 5 research points at the start of a run let you unlock two cheap nodes before your second pachinko pull. Most of the cheapest research nodes reduce the weight of the lowest-rarity seed in the pachinko pool, which immediately improves the average pollen output of every subsequent roll. Players who skip this step report seeing the same three starter flowers for hours, which is the most common reason runs feel stagnant on day one.
Recommended First Five Research Nodes
The Research Lab tree is wider than it is deep, so the order you click nodes matters more than the total you unlock. Because each pachinko pull consumes saved research points and moon garden save and exit will preserve partial node progress, you can safely abort a bench spend and re-enter without losing invested pollen. A clean opening build for moon garden how to unlock flowers, derived from first-week community data, front-loads the two RNG-biasing nodes so the pachinko machine starts producing uncommon drops before you commit to the costlier mid-tier recipes; here is the exact order to follow.
-
Reroll Bias I — Cuts the common seed weight by 15%, which raises the chance of uncommon drops on the next pachinko pull.
-
Pollen Siphon — Adds a small passive pollen trickle per planted pod, which funds faster lab bench spends.
-
Seed Memory I — Unlocks the crafting recipe for the first mid-tier flower using saved fragments.
-
Reroll Bias II — Stacks with Bias I for a combined 30% reduction in common seed weight, which most players notice by the third pachinko refill.
-
Pod Sync — Unlocks the recipe for the first rare-tier flower, which is the earliest big jump in pollen per tick.
This sequence leans on community testing from the first week of release, and it front-loads the RNG-biasing nodes that make the pachinko machine feel less random. By the time you finish the fifth node, your pachinko pool should already include at least one uncommon and one rare entry, which is the practical definition of progress in this game.
Garden Pod Expansion and Tier-Gating Mechanics
Garden Pods are the planting bays that produce pollen, and each new pod you unlock adds both capacity and a fresh slot for higher-tier flowers. The pods themselves are gated by Stardust, which is the permanent cross-run currency you earn by mulching the central tree. Each pod costs more Stardust than the last, and the cost curve is steep enough that skipping pod expansion is the single biggest mistake a new player can make when learning how to unlock flowers in Moon Garden.
Pod Tier Costs and Flower Slots
The numbers below are pulled from community testing shared in the launch-week Steam guides section and cross-checked against the official Moon Garden achievement page. Values may shift slightly with future patches, so treat them as the baseline you should expect in version 1.0.
| Pod Level | Stardust Cost | Plant Slots | Highest Flower Tier Allowed |
|---|---|---|---|
| Pod 1 (starter) | Free | 4 | Common |
| Pod 2 | 25 Stardust | 6 | Uncommon |
| Pod 3 | 80 Stardust | 9 | Rare |
| Pod 4 | 200 Stardust | 12 | Epic |
| Pod 5 | 450 Stardust | 16 | Legendary |
The "Highest Flower Tier Allowed" column is the one most players miss, because the game does not flash a warning when you try to plant a flower that exceeds your current pod tier. The seed simply refuses to sprout and silently fails, which is why so many launch players thought the legendary flower was bugged. Check the pod's tier badge in the bottom-right corner of the planting UI before you spend a rare seed, especially right after a mulch when the pod visuals reset.
When to Spend Stardust on Pods vs Upgrades
Because Stardust is the bottleneck for both pod expansion and cross-run upgrades, the order you spend it in directly shapes how fast you unlock the full flower roster. A reasonable rule of thumb, supported by community testing, is to spend roughly 40% of your first-run Stardust on pod expansion and the remaining 60% on the Stardust Tree's permanent upgrades. Once you have four pods online, the pollen economy grows fast enough that further Stardust is better spent on the tree, which compounds your next run's pod budget.
| Run Stage | Recommended Pod Spend | Recommended Tree Spend |
|---|---|---|
| First run | Unlock Pod 2 | Buy the cheap pollen-multiplier node |
| Second run | Unlock Pod 3 if affordable | Unlock the research-point bonus node |
| Third run | Hold for Pod 4 | Max out the seed-reroll node |
| Late game | Push to Pod 5 | Save for the mulch-yield capstone |
Players who follow this split consistently report reaching the legendary flower tier by the end of their third mulch cycle, which lines up with the speedrun estimate posted in the launch-week Steam community. For a deeper walkthrough of the Stardust economy and the mulch reset, the Moon Garden mulch tree prestige guide maps the same milestones onto a full reset cycle.
Pachinko Machine, Save and Exit, and Settings Tweaks
The pachinko machine is where the actual "how to unlock flowers" question turns into a concrete action, because every new flower you discover has to come through a roll or a lab craft. The machine is a real-time physics dropper rather than a gacha screen, so the way you set up your screen and your save cadence matters more than people expect. Two quality-of-life settings in particular save hours over a full playthrough, and they are easy to miss because the settings menu is tucked behind the in-game pause overlay.
Save and Exit Timing
The save and exit flow in Moon Garden is autosave-driven, but the autosave timer only fires at the end of each in-game day, which means a hard crash between checkpoints can erase a full pachinko refill. According to community reports, the safest habit is to use the moon garden save and exit option from the pause menu after every pachinko pull, because that is the only manual save point in the game. If you are mid-pod-planting when you need to quit, the game does pause cleanly, but the unsaved pollen and seeds are at risk until the next day rollover.
A practical rhythm that long-time Moon Garden players have settled on, based on community testing across multiple save files, is to treat the pause menu as a checkpoint trigger: every meaningful progression event — a pachinko pull that spends 50 moon coins, a research-tree node completion, or a pod planting that consumes fertilizer — gets followed by an immediate save and exit, so the autosave at end-of-day cannot roll back a half-finished objective. This cadence keeps the crash window under roughly 30 seconds of unrecorded input and aligns naturally with the moon garden save and exit flow from the settings guide, rather than fighting against it.
-
Save and exit after every pachinko pull until you have unlocked the third pod.
-
Save and exit after every research node completion once the lab bench is unlocked.
-
Save and exit before any mulch, because the mulching animation has the highest crash rate in the launch build.
Settings That Actually Matter for Unlock Speed
The moon garden settings guide most players share in the launch week is short, because only three options meaningfully change the unlock pace. The rest of the settings menu is cosmetic, audio balance, and language selection, none of which affects flower progression.
| Setting | Recommended Value | Why It Helps Flower Unlocks |
|---|---|---|
| Animation speed | Fast | Cuts pachinko drop time in half |
| Particle density | Low | Reduces post-mulch lag on large pods |
| Auto-sell pollen threshold | 1,500 | Keeps enough pollen for lab bench spends |
The animation speed toggle is the most impactful, because the pachinko ball physics take roughly six seconds at default speed and just over two seconds on Fast, which compounds across the hundreds of pulls a typical run requires. The particle density setting only matters once you have three or more pods online, because the petal effects stack and can drop frame rates during the post-mulch celebration scene. Auto-sell pollen is the easiest setting to misconfigure, because setting it too low starves the lab bench and slows research point income, while setting it too high leaves you with no buffer for emergency pachinko refills.
Steam Achievements as an Unlock Roadmap
The moon garden steam achievements basics line up almost one-to-one with the flower roster, which makes the achievement list the cleanest unlock checklist in the game. Most players treat the achievement list as a free planning tool, because the description text often names the exact flower tier or pod milestone you need to reach. The achievements are not hidden, so you can read the full list from the Steam overlay without launching the game, which is a useful pre-run planning step.
Achievement Tiers and Their Flower Milestones
| Achievement | Unlock Condition | Flower Tier Touched |
|---|---|---|
| First Bloom | Plant your first seed | Common |
| Pod Pioneer | Unlock Pod 2 | Uncommon |
| Rare Find | Roll a rare flower from the pachinko machine | Rare |
| Lab Rat | Complete 5 research nodes | Mixed |
| Full Garden | Fill every slot in Pod 3 | Rare |
| Legendary | Plant one of every legendary flower | Legendary |
| Escape the Moon | Grow the tree to its final height | All tiers |
The "Lab Rat" achievement is the one most players chase first, because it doubles as a moon garden research points guide checkpoint. If you are stuck on it, the answer is almost always that you have not been spending pollen on the lab bench, which is the repeatable research-point source most newcomers ignore. The "Full Garden" achievement is a clean pod-utilization check, because Pod 3 has nine slots and the game does not gate that count behind any rare drop, so the bottleneck is always flower availability rather than space.
For a fuller achievement walkthrough that covers the trickier late-game unlocks, the Moon Garden assembly line achievement guide breaks the chain into a step-by-step order. The general flow is plant, roll, research, expand, mulch, repeat, and the achievement list rewards you for staying on that loop without backtracking.
Launch-Week Flower Unlock Slip-Ups
A few patterns show up again and again in launch-week player reports on the Moon Garden Discord and Steam reviews, and avoiding them saves the same handful of hours every new player loses to them — most of these mistakes come from players who tried to push pod expansion or craft rare flowers before understanding the research points loop, so the pachinko bench keeps burning pollen without ever ticking the lab counter toward the next flower unlock.
-
Hoarding pollen past 5,000. Past that threshold, the lab bench stops generating research points and the excess pollen is just idle inventory.
-
Mulching before Pod 3. The first mulch is tempting, but doing it before Pod 3 means you lose the pod expansion you already paid for, and the early Stardust gain is not worth the slot loss.
-
Ignoring the crafting recipes. The Research Lab unlocks crafting recipes that bypass the pachinko RNG entirely, and most players do not realize they can craft a rare flower from saved fragments.
-
Skipping the on-screen helper text. The community flagged this in the launch Steam reviews, because the UI introduces several mechanics at once and the helper text is the only in-game tutorial for the lab bench and the pachinko bias nodes.
If you are brand new to the game and want a wider primer before diving into the flower roster, the Moon Garden beginner guide covers the first hour of play, including the starter pod setup and the basic pollen loop. It pairs well with this unlock guide, because the beginner guide ends right where the research and pod expansion systems begin to matter.
Putting It All Together
The cleanest mental model for how to unlock flowers in Moon Garden is a four-step cycle: plant in your current pods, roll the pachinko machine with the research-bias nodes active, spend pollen on the lab bench to keep research points flowing, and bank Stardust for the next pod expansion. Each loop around that cycle raises the average tier of the flowers in your pods, and each mulch resets your pods but compounds your Stardust and research progress, which is why the late game accelerates even though the early game feels slow. After three or four mulch cycles you should have all four pods unlocked, the legendary flower tier reachable, and most of the Steam achievement list ticked off, which is the practical definition of "full garden" in this cozy incremental.
Frequently Asked Questions
How long does it take to unlock the full flower roster in Moon Garden?
Most players report reaching the legendary tier by the end of their third or fourth mulch cycle, which lands somewhere between six and ten in-game hours depending on how aggressively you spend Stardust on pod expansion. According to community data, players who front-load pod upgrades reach the full roster about two cycles earlier than players who hoard Stardust for the tree.
What is the fastest way to earn research points early?
The fastest early research point income is the first mulch bonus, which gives 5 points in one burst, followed by spending pollen on the lab bench at the rate of 1 point per 1,000 pollen up to 5 points per day. After the first mulch, plant discovery bonuses start to add up because every new species you plant for the first time is worth 2 research points.
Do the moon garden settings actually change unlock speed?
Yes, three of them do. Animation speed set to Fast roughly halves the pachinko drop time, particle density set to Low prevents frame drops on large pods after a mulch, and the auto-sell pollen threshold set to 1,500 keeps enough pollen for the lab bench without starving the pachinko refills. The rest of the settings menu is cosmetic and does not affect progression.
Is there a risk of losing progress if I skip save and exit?
Yes, the autosave only fires at the end of each in-game day, so a crash between checkpoints can erase a full pachinko refill. The community-recommended habit is to use the moon garden save and exit option after every pachinko pull and every research node completion until you reach the third pod, after which the autosave cadence is usually safe enough to relax.
Are the Steam achievements a good checklist for flower unlocks?
Yes, the moon garden steam achievements basics line up almost one-to-one with the flower roster and the pod milestones, which makes the achievement list a free planning tool. The "Lab Rat" achievement in particular is a clean checkpoint for your research progress, and "Full Garden" is a reliable indicator that you have reached the rare tier across every pod slot.